Hi guys & gals, today I want to share my knowledge of how I achieve great lighting no matter how big or small the light is, the principles are relative, meaning you can use these principles whether you’re in a studio, an office space or outside in the sun. Let’s get into it.
The main light - the strongest light is called the key light, since it’s the main light that covers the subjects face. You can place this light anywhere that faces the subject. I will tell you the result of this light when the light is placed in a different position.

Once you’ve placed the key light you now get another light in order to literally fill the area of the face which is too dark.
We switch the fill light on and dim it to 25% power. If we brighten it to the level of the key light, we get a flat image. You still want the fill side to have contrast but I just need a little contrast on the face in order for us to see its details.

Quick note: You can control the fill of your image to however you desire, it is contextual and dependent on the situation you’re in. For example I am using a key light which is a tube light & my window, the sun as a fill. This may be too much contrast and I could add some light in order to balance the face a little better.

Now let’s talk about our rim/backlight/kick/hair light. Which adds depth to your image showing that you’re separated from the wall behind you. This makes a big difference when used subtly. You’d see this positioned in different areas dependent on the context. You can have the light from below, from up top as a hair light, or in the corner. If placed as a rim light you would normally point this towards the fill side of the face.
Now that you know the fundamental three point lighting, I will go through 4 lighting setups that you can use dependent on how many lights you have available.
This lighting gets you a deep dramatic look. The key light is positioned at a 45 degree angle, for you to know where to find the 45 degree angle, close one eye and move your hand on to your face. Then move your hand until you see the palm of your hand.
Raise the light above the persons head, you should get a triangle on the shadow side of the subjects face. If it’s over dramatic you can use a white polyboard, use another light to lighten the fill side or try loop lighting.

Similar to Rembrandt though the key is a little lower and is closer to the camera. This creates a smaller shadow of the nose and loops down to the mouth without touching the cheek. This fills in the shadows and creates a less contrasty look than Rembrandt.

This is a great method if you have one light available, it’s been used during the golden era of filming and usually Is used for beauty and glamour projects. I usually would use this on a face that is symmetrical and if I want to highlight cheekbones.
You could also raise the key light a little higher and add a little light below which is another way in which a lot of product, beauty are lit as the higher light highlights the forehead and cheeks and the light below fills in the shadows and acts as a catchlight on the eyes.
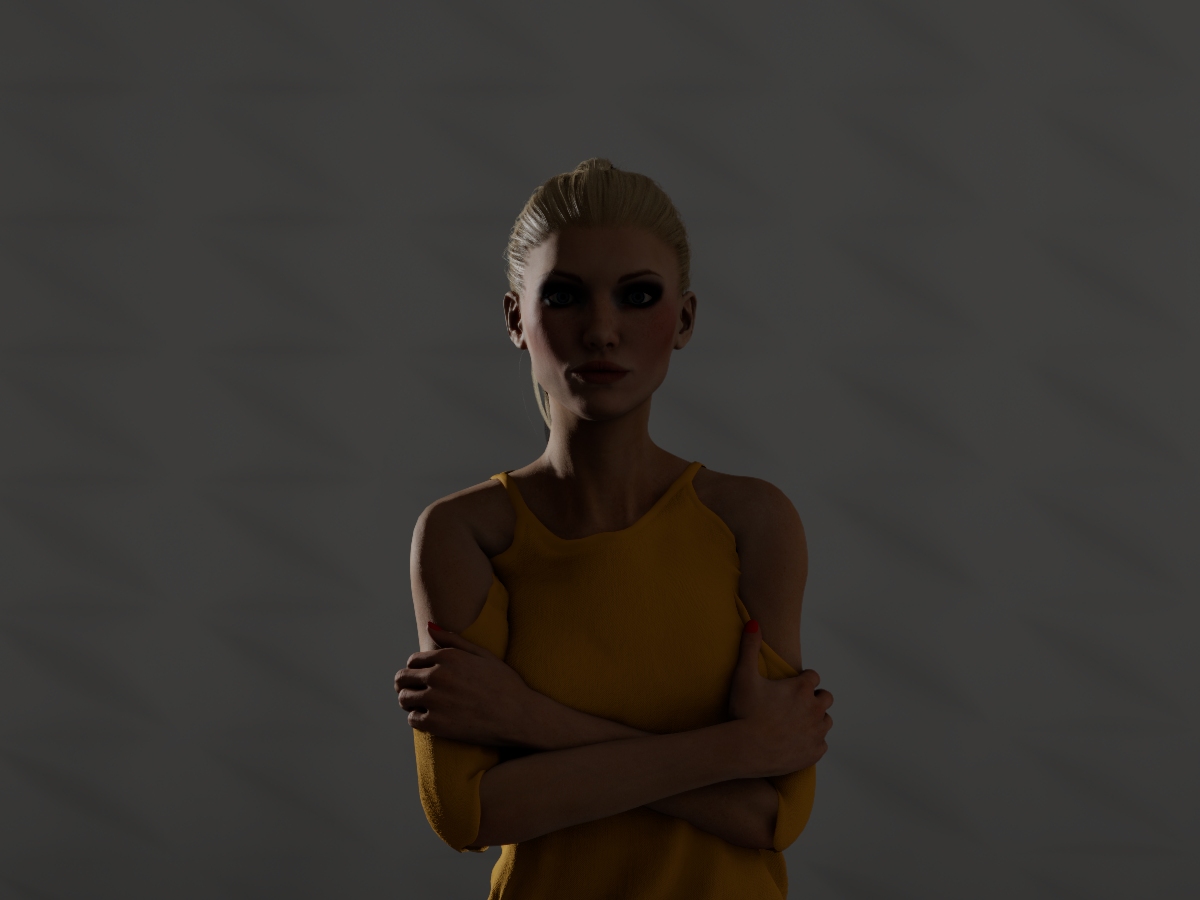
Last but not least is the silhouette, which is basically a rim, kick or backlight without any lighting from the front. This simply outlines the body/face. To get the most out of this lighting make sure there’s nothing reflecting in front of the subject otherwise you might get unwanted fill.
